


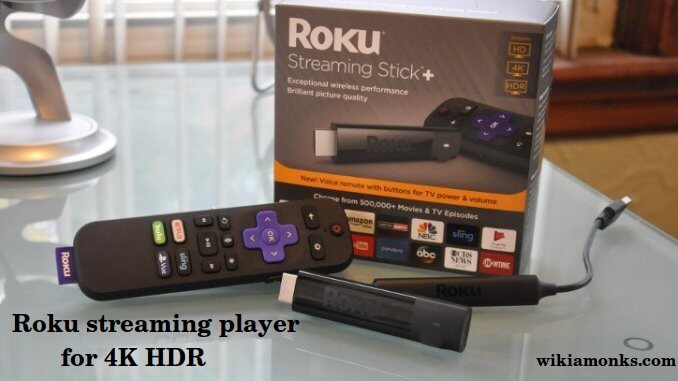
Set up your Roku streaming player for 4K HDR
Watching a movie or video clip in 4K mode is one of the enjoyable things rather than other resolutions. The previous resolution of a 1080p Full HD TV is only limited to 1920 x 1080 pixels. But nowadays, 4K Ultra HD TV has taken their place in the term of better resolutions and picture quality. 4K means an ultra-high resolution of 3840 x 2160 of pixels that will give better picture quality performance.
Lots of 4K Ultra HD TV’s and Some Roku players support HDR features for better colors and brightness. But before accessing 4K quality, you need to set up your Roku streaming player for 4K HDR. The process is very easy and after applying the below steps, you can easily do that.
Requirement of accessories for Roku 4K Ultra HDR
You required the below accessories before enjoying 4K HDR on a Roku player:
- A compatible 4K HDR TV includes HDMI 2.0 input.
- Better internet connection with good bandwidth to stream 4K HDR.
- Capable to support streaming services like Netflix and also supports 4K HDR streaming.
- A premium High-Speed HDMI Cable.
HDMI 2.0 and HDCP 2.2
First of all, your all device must connect to your Roku player and make sure that it supports HDMI 2.0 and HDCP 2.2. The including devices between them is your TV, Soundbar, AVR and any other. Suppose if none device supporting HDMI 2.0 and HDCP 2.2, then your TV will not appear in HDR and show only 720p or 1080p resolution.
Make Audio or Video connections
- After you have confirmed that your other devices are supporting HDMI 2.0, then you need to apply some steps to connect Roku player.
- Before beginning the procedure, connect an HDMI cable to the HDMI port on the back of Roku player.
After connecting your Roku player, use the below instructions to fulfill the requirements:
Connecting straightforwardly to a compatible 4K TV
- First of all, connect the opposite end of HDMI cable to a compatible 4K TV that’s another end supports the Roku player.
Connecting to an AVR with HDMI ports
- Connect the HDMI cable’s opposite end to your AVR that supports HDCP 2.2. You can also use your Streaming Stick+ to connect your present HDMI 2.0 input on your AVR.
- Connect HDMI cable to an output on the AVR. You also need an available HDMI 2.0 on your TV that supports HDCP 2.2.
Connecting to an ARC supportive TV and AVR
- Connect the HDMI cables opposite end which is attached to your Roku player or you can connect your Streaming Stick+ to available HDMI 2.0 input on your TV.
- Connect a High-speed HDMI cable to the TV’s HDMI port that supports ARC or connects opposite end to an HDMI port on the AVR. Make sure both TV and AVR support ARC.
Configuring your TV for HDR
Now your 4K HDR TV must be configured properly to appear HDR content. Lots of TV brands don’t enable HDR mode by default. But don’t worry about that. If you have ultra HD TV from the popular brands, then you need to apply some easy instructions to enable HDR mode.
- For Samsung HDR TV’s: Go to the Menu and then press Picture and then choose HDMI UHD Color under the Picture Options. Press On and then Restart.
- For LG HDR TV’s: Go to the Home and then press Settings to open HDMI. Press Advanced and then choose Picture under the HDMI Ultra Deep Color. Now press On and then restart.
- For Sony HDR TV’s: First of all, go to the Settings and then press External inputs to open HDMI signal format. After that, choose HDMI signal format under the Enhanced mode to complete the procedure.
Done!! Now your Roku streaming player has been successfully set up for 4K HDR.