


Business Email Address with Google Apps and Gmail
A professional email address is a basic requirement after the setup of your website. Create a professional branded email address and here in this article, we will help you setup the email address. For example, kevin@wikiamonks.com is a professional email address.
Unlike free email address, a professional email will have a business name to it. For the email address user first or business owner first needs a domain and a website. If the user already has a domain name and a website, then the user is ready for the setup of the email address.
Benefits of using Google Apps for professional branded email address
Email is one of the important communication mediums and most email servers are unreliable, restrictive or less secure. Keep all your emails secure in the email account with easily customizable email account settings.
Gmail is the leading service provider with millions of users around the globe. Personal email accounts are used widely with positive feedbacks from every corner but the user can have professionally branded email address with Gmail.
Some of the reasons for using Google app or Gmail professional email address include like professional business email address has its own domain and protection from a spam email is provided.
- Storage is provided double that of a free account which is 30 GB.
- High protection from spam emails are provided and it has high deliverability ratio.
- It is also easy to work with a WordPress site.
- No advertisement will pop-up in the account and support facilities are awesome.
- Use the features like Google Calendars and Hangouts on your own business email address.
- Gmail users can now work greatly with Outlook and also it is easy to sync old Gmail account.
Also, it is important to brand the professional email address while using the Google Apps. First thing is to signup for a Google Apps for Work account and it will cost very little. Also, Google App for work provides 30 days free trial which allows easy checking or the features and functionalities before making up the mind.
Steps to setup the professional email address with Google Apps and Gmail –
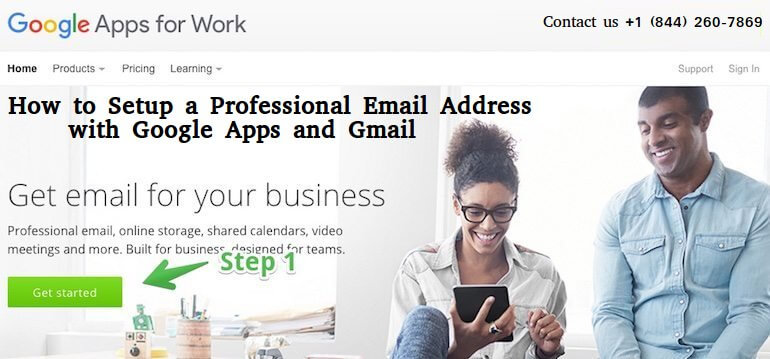
- First thing is to visit the ‘Google Apps for Work’ website. Click on the ‘Get Started’ button.
- Fill up the form which includes details like first name, last name, existing email address and phone number.
- To move further click on ‘Continue’.
- The user will be asked to signup for a new domain name or use the domain name that the owner has. If the user doesn't have a domain name then buy it.
- The email will be automatically setup by Google Mail.
- A user with self-hosted WordPress site will be already having a domain name. Enter the domain name and click ‘Next’.
- Google will ask its users to setup a Google Apps account which will help to pick the business email address.
- It will become your Google Apps admin account and the user can always add more email addresses & email alias.
- Before accepting the terms and details fill up the username and password.
- Next click on accept and sign-up button.
- The first step of the setup is completed and now user needs to add the Google Apps account. For that click on the ‘Start’ button next to ‘App people to your Google Apps account’.
- A pop-up will appear where the user can add more users if they want.
- Scroll down and tick the box next to ‘I added all user email addresses’ in case you are looking to add a single user.
- To continue to click on ‘Next’.
- Now comes the last part of the setup process which is also an important aspect of the setup. Verification of the ownership of the domain name is done.
- There are many ways to do that. The user can either add a meta tag to the website header or upload a file to the webserver or else add a TXT/CNAME record.
- The easiest one to add meta tag on the website header. That can be done easily using the admin of the WordPress site.
- After the activation click on ‘Settings’ followed by ‘Insert Headers and Footage’.
- To store the changes click on the ‘Save’ button.
- Now again move back and click on the box of ‘I added the meta tag of my homepage’.
- Login to the web hosting account and under the mail, section click on ‘MX Entry’ icon.
- In case there is any type of difficulty in creating a professional email account with Google App and Gmail, then contact Gmail support for help. Over the helpline number get all the assistance related to the creation of a professional email account.