


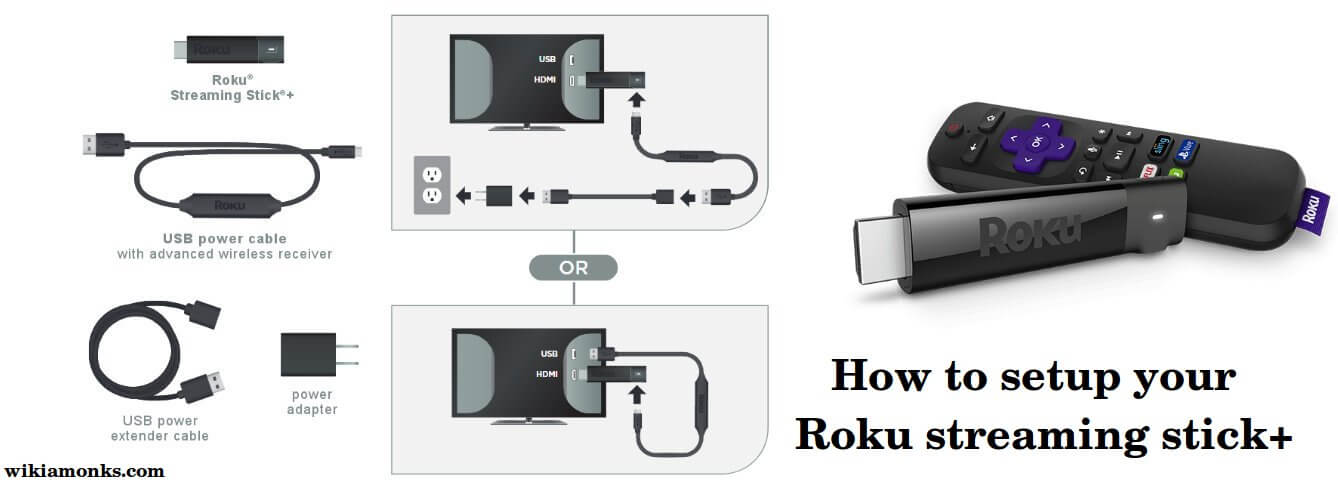
Setup your Roku Streaming Stick+
With Roku streaming stick+ you can enjoy some of the best HD quality videos as it is known to support 720p HD, 1080p Full HD, 4K Ultra HD and 4K Ultra HD HDR videos. The best part of this stick is that it is compatible with any of the television that has an HDMI connection. But that particular device should be compatible enough to support videos of all range. With the stick, there is also an advanced wireless receiver that allows connection to the wireless network and the internet so that one can stream movies, TV shows and more. It also helps in securing a faster and more reliable connection.
Users should understand that all the wires should be attached in an effective manner so that functioning is being done in an effective manner. In case users are facing any sort of difficulty in attaching the wires at the desired place then assistance from the certified technicians is available all through the day and all through the year. They can always feel free to consult them who will then offer assistance as to which wires are to be kept at which place.
Once that is done in an effective manner then you are ready with the setup process and you can simply move down the tutorial to follow the below-mentioned step by step procedure and get your setup done in an effective manner. In any case, if users are getting stuck when they are advised not lose down the temper and simply consult the certified technicians who will offer easy assistance to get the issue resolved on an instant basis.
Steps to set up the Roku streaming stick+:
Step 1: Users can start with choosing a language of their choice which they can do by simply scrolling up and down and then pressing the OK button to ensure that the language of the choice has been selected.
Step 2: Users can next choose their wireless networks from the list of available networks and then they can simply enter their password and once entered in an effective manner then users can simply select Connect which will then Roku Streaming Stick+ will automatically connect to the internet
Step 3: Once the internet connection has been made in an effective manner then users will need to ensure that the Roku Streaming Stick+ will download the latest version of Roku OS software and users can now simply reboot.
Step 4: After the above-mentioned steps have been executed in an effective manner then users can simply do is select Auto detect display type and your Streaming Stick+ will analyze the HDMI connection to determine the supported video resolutions. Users can also go for the automatic setup if they do not want to take such pain.To change the display type go to Settings > Display type.
Step 5: Users will now need to set up their Roku enhanced remote to control their TV which they can do by simply selecting Check remote settings for automatic setup. If users are willing to get the things done in a manual fashion then they can simply move on to Settings and choose Remote and then select Set up remote for TV control to get the tasks executed in an effective manner.
Step 6: Users will now need to create a Roku account and then activate their Roku streaming stick+ which can only be done if the users Roku account is linked. Users should also note down that their Roku account keeps track of which Roku devices you own and allows you to add free and purchase channels from the Roku Channel Store.
Step 7: Users will now get the instructions for activating their Roku streaming stick+ TV which will be displayed on the user's TV also and that will also contain an activation code.
Step 8: Next users will need to visit roku.com\link on their computer or smartphone and simply enter the code that they have received and finally follow the on-screen instructions to activate their Roku streaming stick+ device.
Step 9: Finally or once the activation steps have been completed in an effective manner then users can now feel free to use their Roku streaming stick+ device and enjoy uninterrupted services with their device.
Once the above-mentioned steps have been executed in an effective manner then users have got the advantage to personalize their Roku streaming stick+. By personalizing we mean that one can easily change the theme or screensaver and enjoy uninterrupted services.
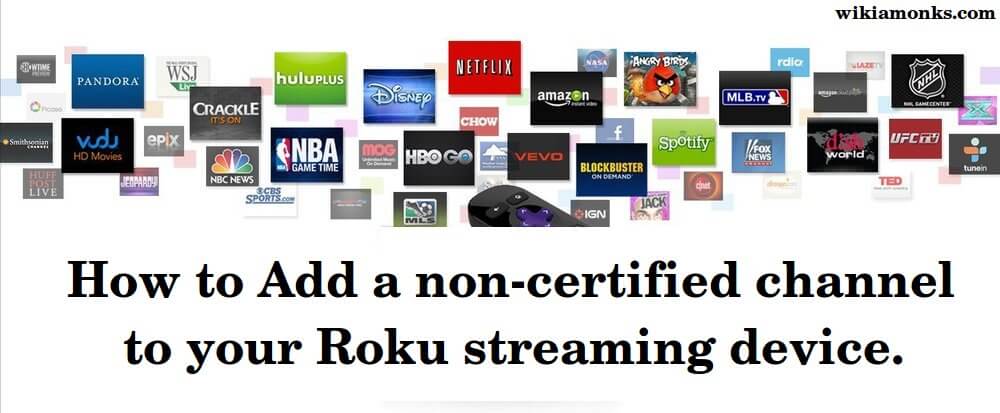
In case users are willing to add some new channels in their device then they can also do that too by the Roku Channel Store. The store can be also be used for adding new streaming channels, games, themes, screensavers, and other apps.
Users having any further doubt or query are welcome to seek advice from the Roku customer service team at any point in time and get one stop solution for the issue and query. Remote assistance can be offered from them at any point in time to get instant solution for the issue and query.