.jpg)
Connect Cable or Satellite Receiver to TCL Roku TV
Being one of the best accessories Roku streaming players has been confined millions of users worldwide. The contents of the device become functional via internet connection through wire or cable. Apparently, there is mainly three process with the help of whom a user can enjoy the program on his or her TLC Roku TV. All the three procedures are listed below. Users are advised to select one of them as per the requirement.
How to connect your cable or satellite receiver to your TCL Roku TV:
3 ways to enjoy your cable or satellite service on your TCL Roku TV.
1.HDMI Cable connections are recommended:
It is always supposed to be good if you put cable connection or satellite receiver by using an HDMI cable. This is a far convenient method to connect the device and produce the higher quality video and sound.
- In the initial step, you need to turn off your TV and connect HDMI cable from your cable or satellite receiver to the HDMI1 input.
- You can also do the same for any available HDMI ports on your TCL Roku TV.
- It is advised that TCL Roku TV and the receiver should be off.
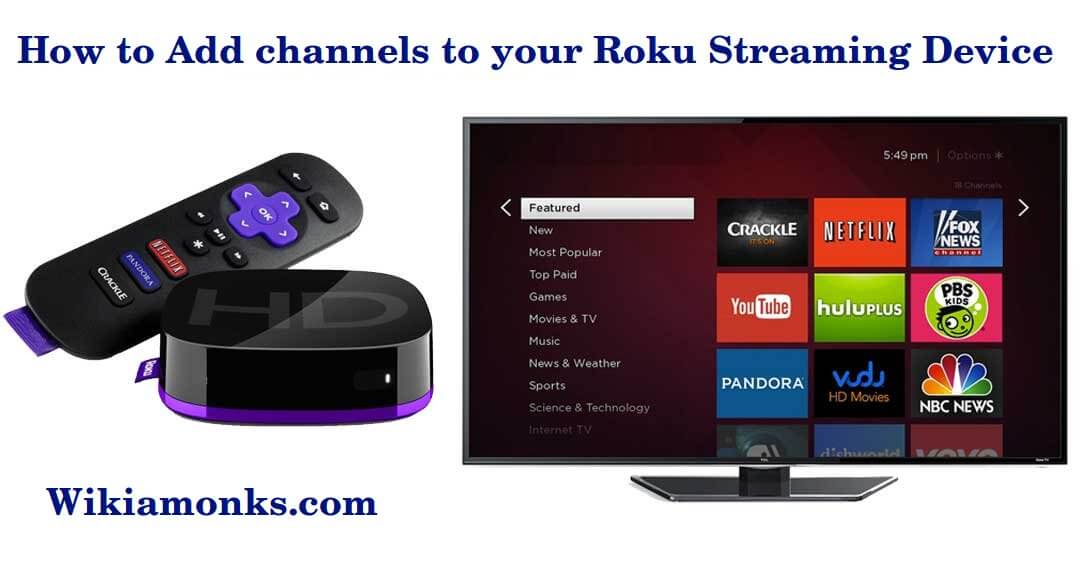
- You have to navigate now to HDMI Input tile by using the TCL Roku remote from Home screen where the user has connected the device.
- Now just tap the OK button.
- Now power On the receiver and cable properly plugin then your TV will definitely recognize the connection.
- Note that user can also change the name HDMI or any Input by tapping Star button on the TCL Roku remote when the tile is highlighted.
- Choose Rename Input and click on the OK option. You can then select another name or icon pair like the cable box or satellite TV.
2.Composite RCA cable connection at the time:
A user can conveniently plug it into the TV using an RCA cable when the connection which is available on your receiver is one of the composite video outputs.
Just remember that there are three RCA type plugs on each end in composite AV cables. The coding of color can be understood by the following:
- Yellow color indicates the Video.
- Red defines Audio and Right Channel.
- White or black defines Audio, left the channel.
- First, verify the TV is switched off and power connection is not there.
- Then connect every plug to the appropriate connector on the receiver and on the TV.
- Now put on the power supply on both TCL Roku TV and the receiver.
- Navigate the AV Tile with the help of home screen and using the TCL Roku remote.
- Tap on OK button.
3.Co-axial Cable Connection in a simple way:
- You do one thing Screw the co-axial cable from the cable or satellite receiver on the coaxial input of your TCL Roku Television keeping the power off.
- Now the TCL Roku Television is powered on and from the home screen put the navigation on antenna TV tile, hit the OK button on your TCL Roku remote.
- Choose to begin finding channels and click OK button on the TCL Roku remote.
- Now users are guided to choose the time zone with up and down arrow button only if prompted and press the OK button.
- It should be kept in mind that the steps are only visible if the wifi is not connected to the TV.
- Select No, channels 3 & 4 are required.
- Note that you have to select Yes, channels 3&4 are required if VCR is connected from your cable or satellite receiver to the TCL Roku TV.
- Now the TCL Roku television will start scanning channels which can take few minutes.
- When the scanning finish user will get a message which contains the number of channels scanned.


