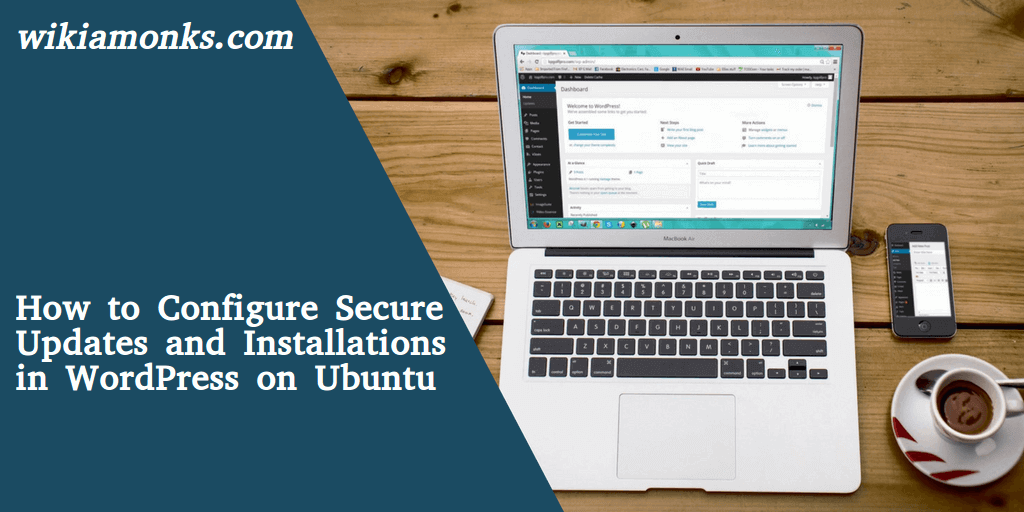
Configure Secure Updates and Installations in WordPress
WHAT IS WORDPRESS :
Wordpress is one of the highly known and demanded CMS (content management system) which has been used on the internet these days, While those other people who use it because of its powerful and simple work process.
It is work through the online procedure and works it over the web server.
This is the basic case in which you select to assign directory ownership and permissions, and even the way in which it gets upgrades. Hence over the internet, there are many other ways to secure your connection but it will depend on the way in which you upgrade and install themes and other plugins.
As these technical terms are a bit difficult to be understood by the common people, then you need to contact to their respective official employee to help you out in your problem. Which is as mentioned ‘Wordpress support’, to provide you full support and guide.
Steps to set up the secure updates and even installation in your Wordpress
Before following any step one needs to follow up the below-given steps which are mentioned as follows:
- Log in to the MySQL command line as the root user.
- Then after creating the Wordpress database in your system.
- When done with that then create a user and then provide them the privileges for the newly created WordPress database, by replacing the other function.
- Then, after all, exit the MySQL.
Install the Wordpress in your system :
Now to create a WordPress and install that in your system one needs to follow up the below-given procedure which is given as follows, just go through them as soon as possible and hence make it follow your system.
- There you need to create a directory called as ‘src’ which should be under your web site's directory which could be able to restore the fresh copies of the other WordPress source files.
- When done then after that navigate to the new directory.
- Now set up your server’s user, as the ‘www’ which will be the owner of your site’s home directory.
- There install the latest version of the WordPress and then extract it from the files saved on your system.
- Then rename it as Wordpress which should be basically followed by a date to store backup files of the original source files. Hence this will b helpful to install the latest version of your system.
- Now move your WordPress files to a public_html folder.
- Now finally give your web server as the ownership of the public_html folder.
Now configure it by following the below-given steps :
- Visit your domain name and then run the install.
- Then find the required file from the folder and then click on the install button.
- Hence now your problem has been solved by following the above-given steps.


